Showing posts with label DIY ideas. Show all posts

Wednesday, April 15, 2015

A simple DIY gift box idea

20140517-IMG_2319

I love giving gifts and thinking of ideas to fancy up simple gifts. Here is something I have tried which I wanted to share earlier but changed my mind when it seemed too common sense and simple! Well, I’m still doing it anyway because maybe one of you hadn’t thought of this before? I hope so!

20140517-IMG_2299

20140517-IMG_2303

We all have these random gift boxes that come with some purchases or even with gifts we get. It would be totally fine to use them for gifts as they are, but it feels so much more special with this simple idea.

All you need is : a hot glue gun / any kind of ribbon, lace, fabric strip / the gift box you’d like to repurpose

Just cover up the store name or whatever with the lace/ribbon/fabric etc using the hot glue gun and viola, you’re done!

(Of course this really works with simple gift boxes which don’t have too much going on them, but it would be fun to improvise!)

20140517-IMG_2316

Please tell me you had not thought of this before?

Lol.

Thanks for reading and lots of love.

20140517-IMG_2305

20140517-IMG_2311

Friday, April 3, 2015

Toddler Project: Hand-drawn Stuffie

20150310-20150310-IMG_1737

20150320-20150320-IMG_1926

Did you read the post about the Stuffie Painting craft we did for Anya’s birthday? If you haven’t, maybe go check that out first?

While I was making the stuffies for the party, I had this idea to make one little guy that Anya has drawn herself. My little girl is an artist and loves drawing her version of people and animals all the time. I got her to draw this directly on the fabric with the fabric marker and then made it into a stuffie before I had her paint it.

20150310-20150310-IMG_1742

20150320-20150320-IMG_1934

Adorable, right? A simple little project to celebrate her art and the simple little drawings she makes for us all the time. I love how it turned out and so does Anya.

20150320-20150320-IMG_1955

Thanks for reading. Lots of love.

Wednesday, March 25, 2015

Handmade Stuffies Craft for Anya’s Birthday Playdate

20150315-20150315-IMG_1824

Last week, we had a little Birthday Playdate to celebrate Anya turning 4 with her closest friends and their mommies (More on that later). For a kids activity for the party I decided to have them do a little painting project they could take home with them. I had been wanting to try this via A Beautiful Mess, for the longest time ever and finally did it for this little celebration.

20150310-20150310-IMG_1734

20150310-20150310-IMG_1735

20150313-20150313-IMG_1797

SUPPLIES Some Cotton Fabric (You could even use old T Shirts I’m guessing but I bought mine at Joann), Fabric Marker or Pen (I got this one), Polyester Filling (I already had this one sold at Joann and Michaels). Fabric or Acrylic Paints.

PROCESS I drew the illustrations freehand, some inspired by Elsie and some inspired by images I found online. I ended up hand-stitching them, I KNOW, even though I own a sewing machine because well :p It worked okay though because I didn’t have to make too many (Incase you’d like to know I used the Overcast Stitch to make it a little more secure).

(Once the kids are done, it also helps to draw over the black lines once the stuffies have dried to redefine them as they might have painted all over them!) 

IMG_9258

IMG_9264

IMG_9262

IMG_9261
Pictures above from the party by my talented photographer friend Sumera. 

I spread a plastic table cloth on the floor in the living room and the kids looked so adorable working on their little painting projects. We did the project at the start as kids arrived so by the time they had to leave, the stuffies were mostly dry and they were able to take them home in their goody bags :)

Here is a glimpse into what Anya’s butterfly looked like!

20150320-20150320-IMG_1979

More from her party to follow:)

Thanks for reading. Lots of love.

Wednesday, September 17, 2014

Toddler Project: A Family Album

20140813-IMG_0642

Good morning you guys. Here’s an easy project for your toddler. I had wanted to make this as a board book for Anya when she was much younger and loved looking at pictures, and pointing out names. Living so far from our family and not being able to see their faces throughout the year, I wanted Anya to know them from a young age and I loved the idea of this project, specially at the baby age where they are fascinated by faces.

20140813-IMG_0627

20140813-IMG_0632

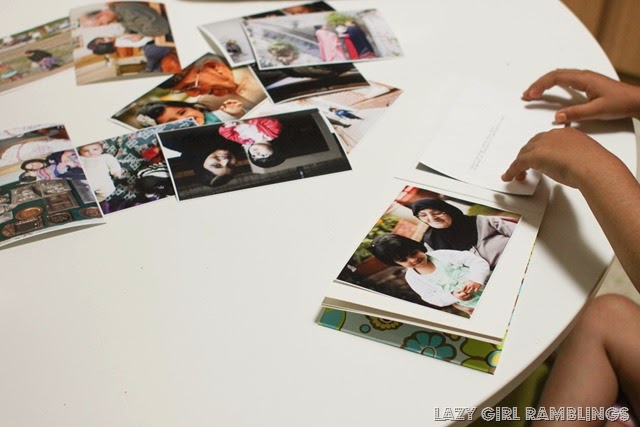
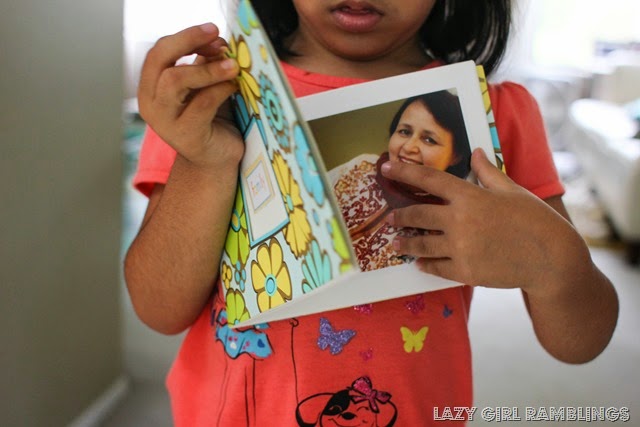
All you need is a little premade or a DIY little album and some family photos. I selected photos of Anya with her loved ones from our various trips back home to see them, because I thought she would enjoy those more now. I stuck double sided tape to the photos and let her stick them to the album. And we found a little ‘family’ sticker from my craft box to add to the top. Here’s Anya trying to show her little album to you.

My parents had organized their photos in many many photo albums which to this day sit in my parents bookshelves. We have spent many an afternoons going through those albums, smiling at all those memories and I want Anya to experience the same. I am trying to make it a point to organize all these photos that keep filling up our hard drives and either print them and make albums or make annual photo books. There is absolutely nothing like an afternoon spent reminiscing over old photos.

Sigh.

20140813-IMG_0648

Thanks for reading, lots of love.

20140813-IMG_0636

Friday, March 7, 2014

My dad, the PAF, and a quick shadow frame to honor his life.

Papa Korangi

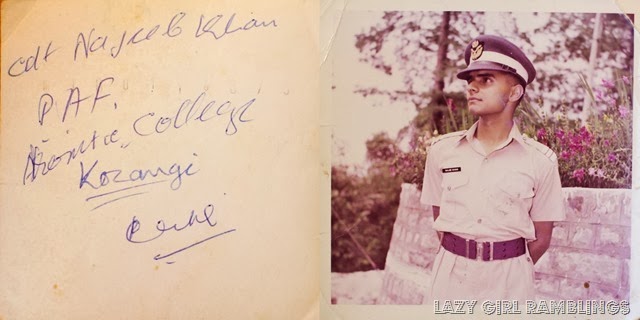
My dad was a proud aeronautical engineer in the Pakistan Air force and we grew up in those bases in all corners of the country. It was an amazing childhood full of all things that make it memorable and because of that, among many other things, the PAF holds a very special place in my heart.

The memory of my dad immaculately dressed in his uniform and looking so handsome is the first one that comes to mind most of the time when I think of him. And those shiny medals that were a part of it, continued to grow as we grew up. Of course it was not always happy, and I also remember his stressful times. I remember always knowing that being in the military, my dad would have to choose his country over us. But that itself was a huge source of pride for us.

All those years of being a part of the Air force family, the postings, the changing of schools, the excitement at each promotion my dad got, the houses that were home to us for a few years and which we had to say goodbye to ultimately, the friends we met and parted with at different bases, became such a huge part of us that we were more upset than Papa was when he retired suddenly.

And so out of all the things that belonged to my dad, and that we found hard to part with, some of the things we couldn't let go of, were his medals and uniforms. We all kept a few of these and I knew I wanted to display these somewhere to remind me of my father and the life he chose for himself and us.

13111412

13111413
Used adhesive velcro  (similar to this) to stick the items inside the shadow frame found at Marshalls.

20140201-20140201-IMG_8661

Have you ever displayed treasured items using a shadow frame?

Thanks for reading and lots of love.

Monday, February 10, 2014

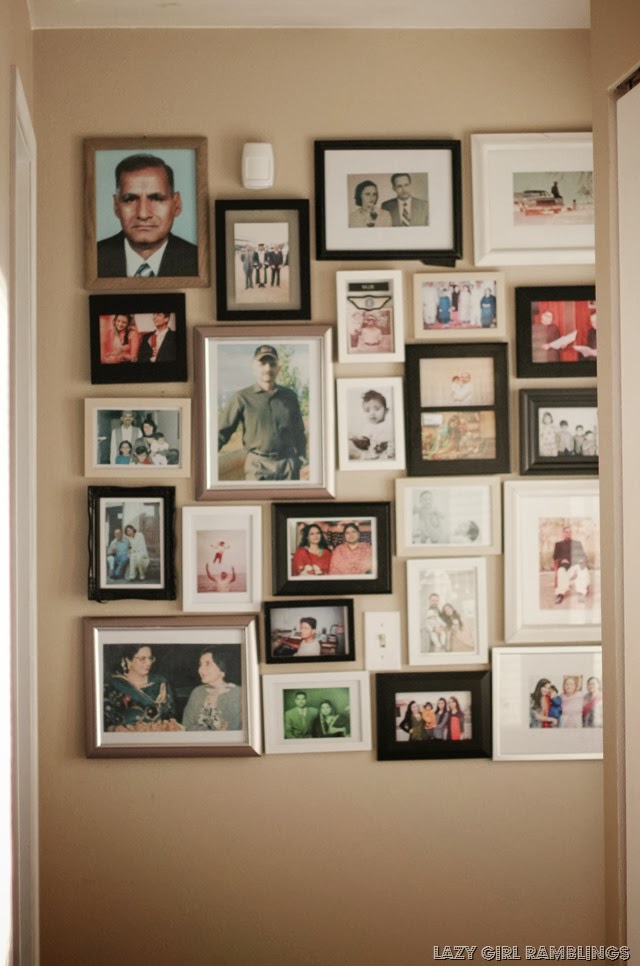
A family picture wall, finally!

20140201-20140201-IMG_8655

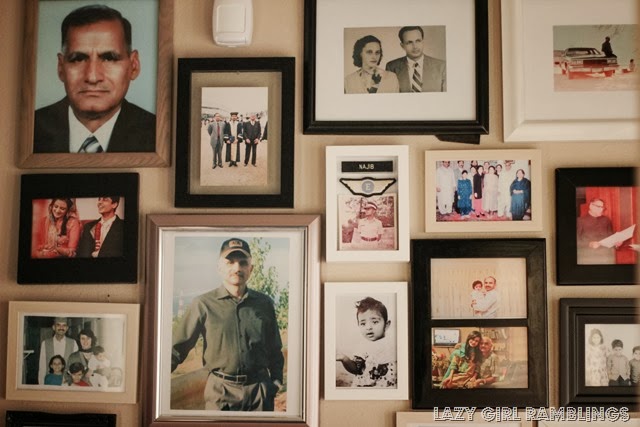
I love pictures and specially family pictures. I have always found little ways to display pictures of loved ones around the house but I had still been dreaming of a photo wall to display these for the longest time. And I finally made one last week. Here is a peek.

20140209-20140209-IMG_881120140201-20140201-IMG_8654

It is straight down our hallway and visible from pretty much our whole little house. And that is pretty much my favorite part. To be able to look at these loving faces and happy memories, makes the house feel that much brighter :)

20140201-20140201-IMG_8646

I wanted to keep the eclectic feel of varying sizes and colors of frames so I used up all the frames I had around the house. But to join it all together I tried to fit it in a rectangular margin to keep it from looking too disconnected. I have to admit, I have no patience (or talent) for making gallery walls the recommended way so I just made the arrangement of the frames on my bed and then just went on to hanging them with my trusted trial-and-error method (!). I think I like the end result and Bilal approved it too so I guess all is good. Now off to plan the other two gallery walls I am dreaming of ;)

20140201-20140201-IMG_8661

Thanks for reading and stopping by.

Monday, September 9, 2013

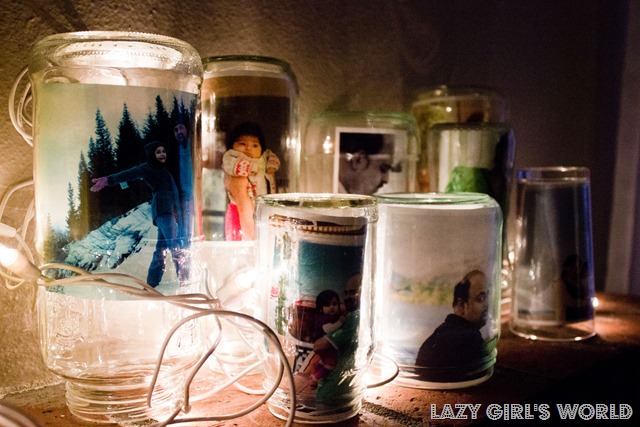
Displaying Photos in Jars.

20130821-43

Happy Monday morning you guys :) Some of you noticed our little photo display from the post on Bilal’s birthday and I thought I’d share more of that today. I am always on the lookout for ideas to display the gazillions of pictures I take and the many that I have printed out. This idea has been around for a while and recently when a friend mentioned it, I finally made a photo jar display on the mantle. I love that it is a super simple idea and looks so pretty.

20130821-4620130821-88

You can make your own version of this to display photo memories for a specific occasion or use it to decorate a corner. I find it looks best when you have a variety of sizes for the jars.

Elsie Larson also did a version of this here and do check out the other amazing ideas to display the photos you take.

(The jars I used are from various items like used up candles, peanuts jars, juices, cream cheese, pasta sauce. You can soak the jars in warm soapy water to get the stubborn labels off.)

20130812-28

Thanks for reading and hope your day is amazing.

Monday, March 4, 2013

Hello Monday. Hello sunshine and a DIY share.

Hello all you sweet people. It has been a beautiful sunshine filled Monday for us in Seattle. Cant tell you how much we needed it.

Anya and I made a trip to the library for story time and then ran some errands. And since then we’ve just been basking in the sun that is filling up our little house.

2013-03-01 001

Over the weekend, thanks to the husband, the shelves are finally up in Anya’s room and I cant wait to share her room FINALLY (I know!!).

I wanted to share this quick project I had done many months ago, but only now found a place for it. The hand drawn cushion cover! It was inspired by a few projects I saw on Pinterest (of course!) including this and this.

All you need is a black fabric marker, a plain cushion cover (I had bought this from Target 2 years ago and it was sitting in the closet since then), and a little design in your head. Slide a cardboard or something under the fabric layer and just draw on. No need for it to be perfect. If you look closely you'll find uneven lines at many points, but I like to think these add to the charm;)

2013-03-01 004

2013-03-01 006

Fabric markers are so much fun to use. A couple years ago, my sister Nadiya came up with a fun idea for us. When she came to see us in early 2011, she brought along plain white t-shirts for the three of us, along with fabric paints, markers etc. We spent a fun evening together, sitting on our dining table, planning what to do with our shirts, chatting, making fun of each other’s shirts and finally making our shirts. It was the most fun the three of us have had in a many years. I tell you my sisters are super cool :)

2011-04-11 008

DSC_0034
Excuse the quality of these pictures, we didn’t know I’d be sharing them on the blog someday. lol

Now excuse me will you, I have to go get some dinner ready for tonight!

Thank you so much for stopping by!